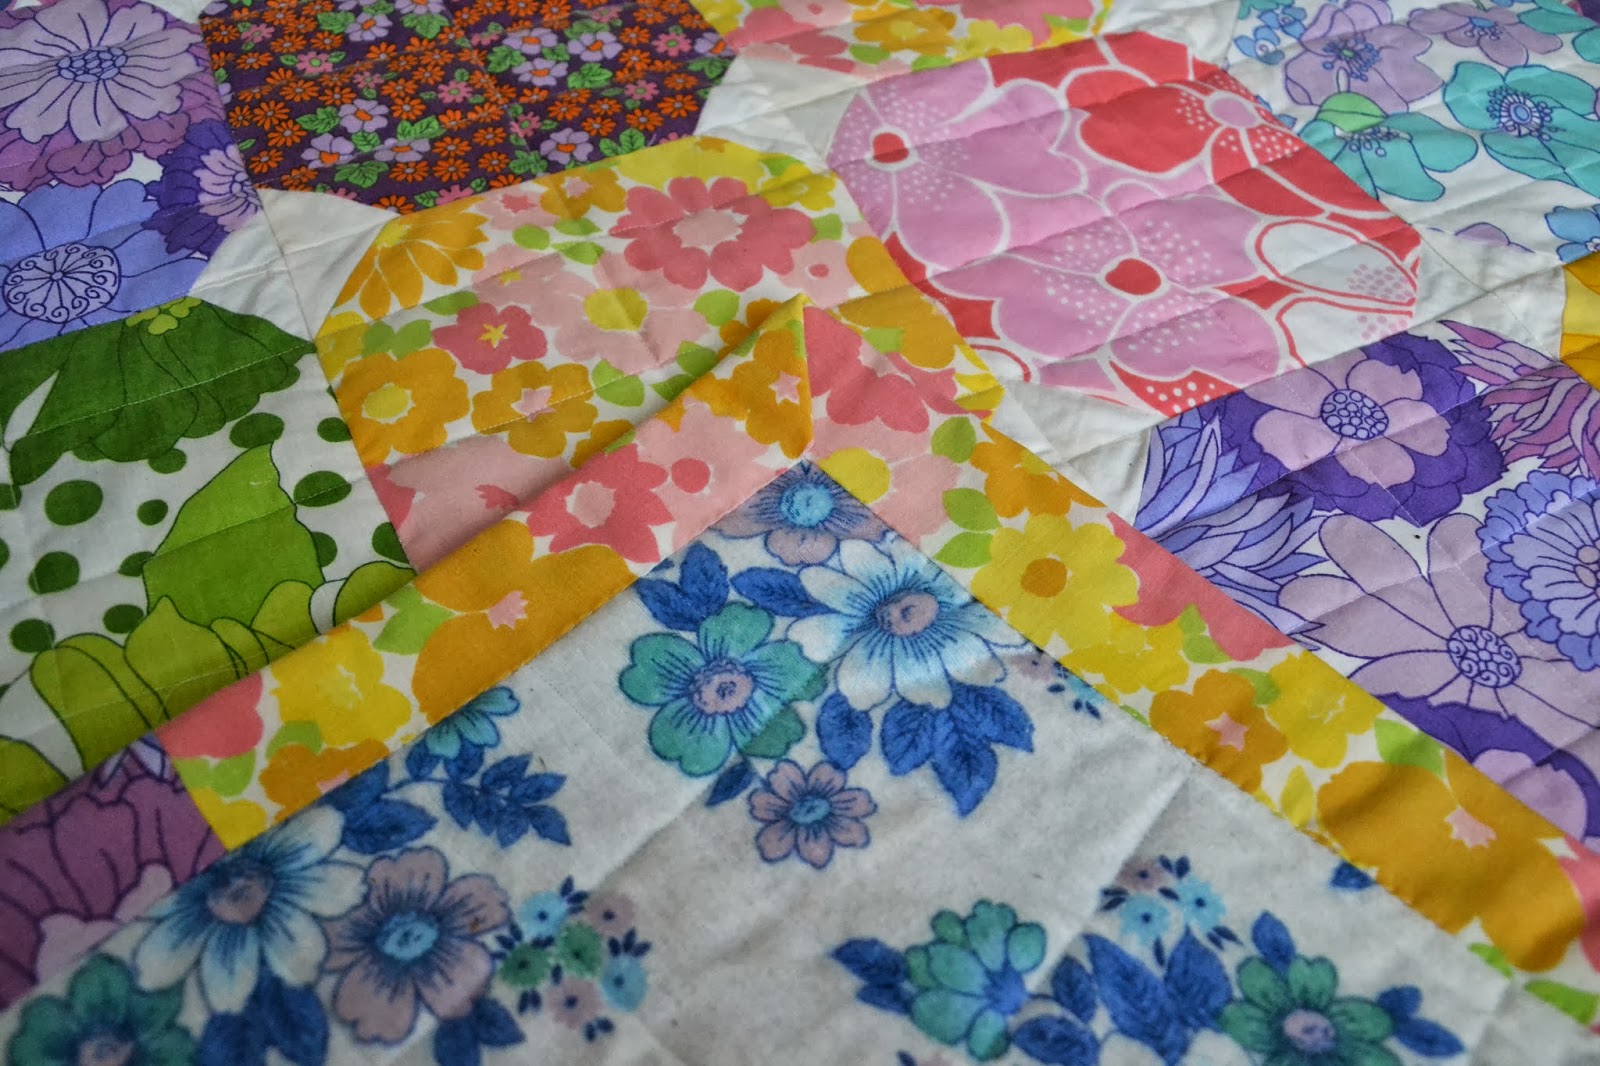
Yey its time for the binding! This is one of the fun parts of quilt making because once its done the quilt is finished too. So I am going to go through how to make 'french binding.' I used this technique for the first time on these baby quilts and I found it really easy, it had a good finish and its all done in one piece. To make the binding simply cut some long strips of fabric about 10cm wide.
You can use some leftover bits of fabric, a complementary fabric or whatever you have used for the back but you need to cut enough to go more than all the way around. Simply stitch these together end to end and then lie it out around your quilt to check its long enough. If not stitch on another strip or two. Then press open these seems and press your binding in half lengthways.
Now trim down any extra binding and backing that you have. Then line up the open side of the binding to the middle of one edge of your quilt, fold the very end of the binding over and start stitching with about a 1cm seam. You can pin it on if you like but you probably won't need to. Sew all the way down the side until you are 1cm from the next edge:
Now you need to fold the binding out at right angles to the line you just stitched, away from the quilt like this:
Then fold it again back over so your fold line is along the edge you have just stitched along like this:
And you should have a little triangle like this:
Now you need to stitch along this new edge all the way to the next corner and then fold it in the same way. Go all the way around the quilt until you get back to where you started, overlap the beginning by a few centimetres and then cut off any excess. Then fold the binding over the edge of the quilt to the back and slip stitch it on. You can find instructions for slip stitching here. This is done by hand but it I always quite enjoy sitting down in front of the telly, quilt over my lap, stitching the binding on. My slip stitching is no where near as good as the tutorial above but I am quite pleased with it still, its a big improvement on my first few attempts.
Then you need to just trim off any threads that you have sticking out and you're done. Woohoo! I hope you have enjoyed making a quilt with me, If you have any questions please feel free to comment or if you have some photos why not instagram them and use the Tadpegs hashtag or @zoeblofeld.
We tried to take pictures of the finished quilt this weekend but it was a bit windy! I will try and get a better shot when the storm has ended. I'll show you the quilt on my bed very soon, we are decorating our room and I want to show you it all in one go. Zoe xx
Choosing Fabric
Fabric Cutting
Piecing
Assembling the Quilt Top
Making the Quilt Sandwich
Quilting


No comments :
Post a Comment