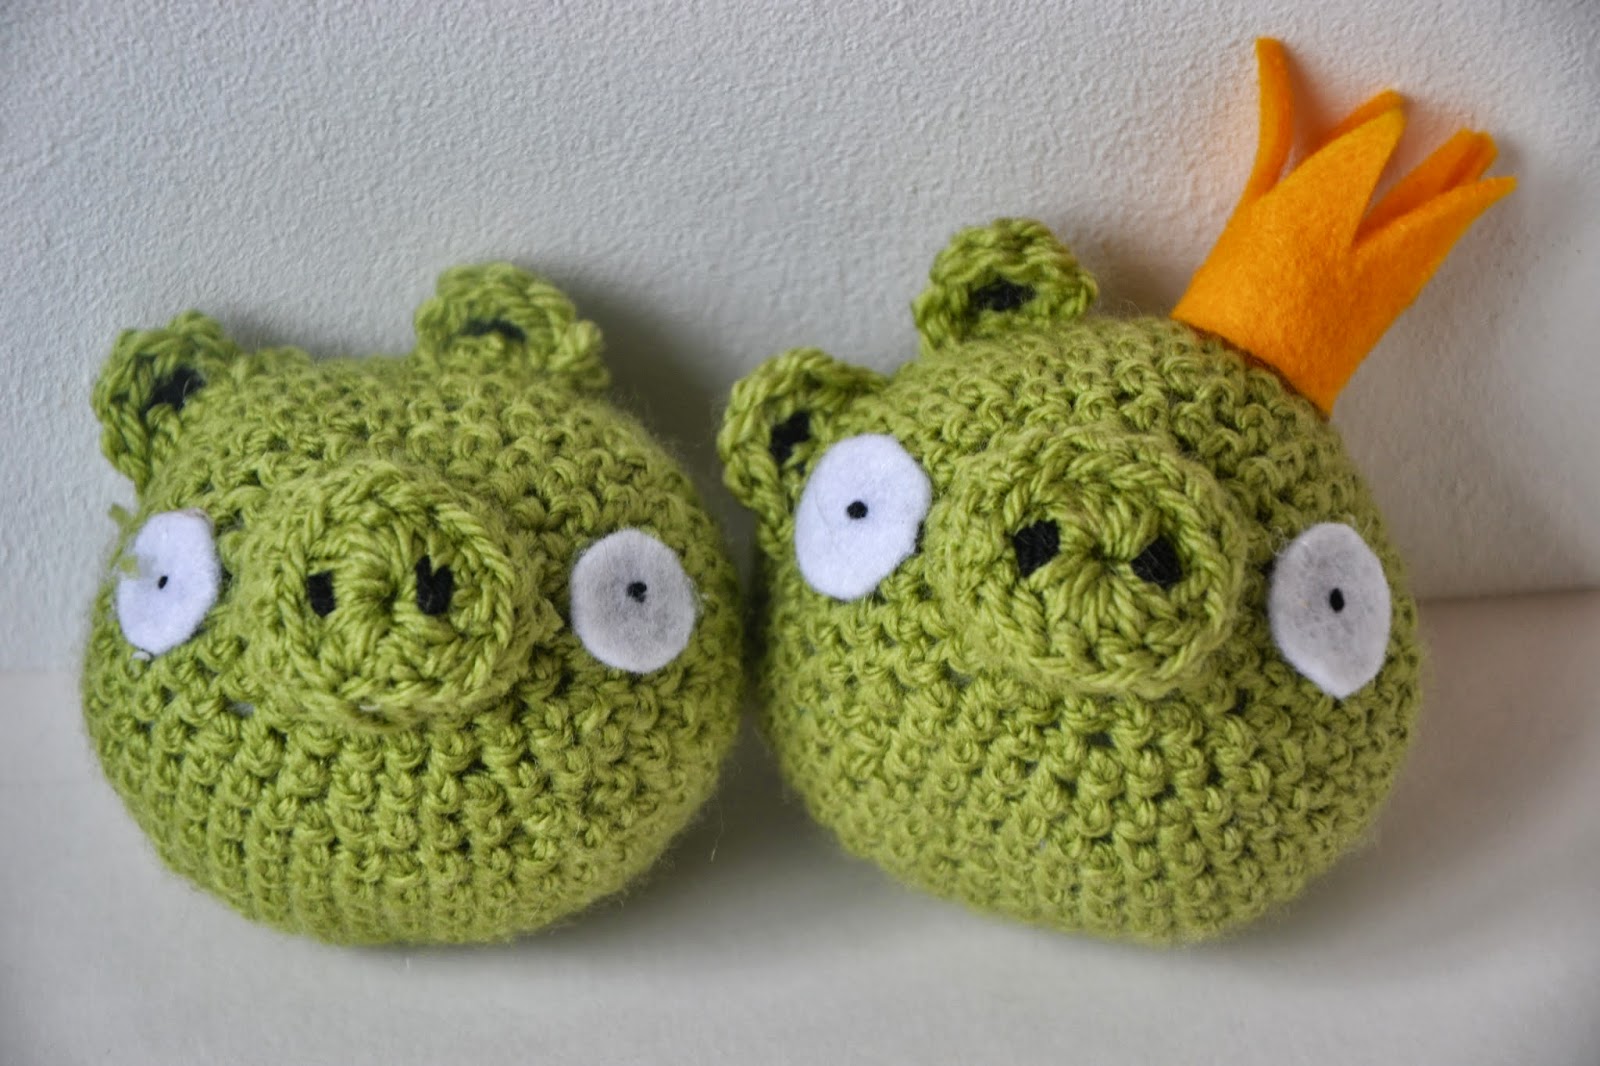
When it comes to photographing your craft, the photography is a whole new craft of its own. Sure you can take a quick snap on your phone and share it on instagram but taking a photo that can compete with the pros is another story altogether. I have been blogging about craft for nearly a year now and I have learnt a whole heap about craft photography. So today I am going to share some of my tips to help your pics look better too.
1. Finding the Light is the Most Important Step
I know I've said this before, but I will say it again, finding the light for your photograph is the most important step. You need plenty of it. Shoot in the day time and preferably outside. If its really sunny though find a shady spot or you'll end up with harsh shadows. If you need to shoot indoors then pull back the curtains and let as much light into the room as possible. If you would like to read more about finding the light, check out this post here.
2. Set Up the Scene
Clear a space and declutter, people will notice if you have lots of rubbish in the background so move it out the way. Your scene might be indoors if you want your item to be photographed in its new home and thats ok, just pull back the curtains. If you need to, hang up some fabric as a background or pop a chopping board on the ground to make a simple surface. Then put your finished craft in your scene. You want this to be the focus of your photo so make it the focus.
3. Take a look down the lens of your camera
Once you have set up your scene, peek down the camera and check its all in the shot. You might need to adjust your background to make sure you can fit everything in in one go. Equally leaving some blank space can really help your photo pop, but make sure that your empty space really is empty and not all cluttered.
4. Set Your Camera to Aperture mode
This mode on your camera allows you to control your depth of field. You can read more about it here but the important thing to remember is the smaller the f-stop number the greater the aperture and the shallower the depth of field. Experiment with this mode a little (you might need your camera manual to find out how) to figure out what I mean.
5. Take some shots of the whole item with a medium aperture.
With a medium aperture you will have the whole item in focus so you can really show off your finished craft. Take a few from different angles to capture every part of it. Also don't be afraid to take more than you think you will need, you can always delete the not so good ones later.
6. Take some shots of the details with a large aperture (small f-stop)
Zoom in and take some pictures with a large aperture. This will blur the back ground and give focus to the details. Show off the areas where you have learnt a new skill, improved an old one and the parts that look extra pretty.
7. Don't worry if it doesn't work out the way you planned
I was so proud when I finished my octagons quilt that I was even more excited to photograph it than usual. We took it outside and starting taking pictures. But the wind was super strong that day and I just couldn't get a good shot. I decided to use the photograph any way because it was funny and made it real. Don't be afraid to use these silly shots sometimes, I think they add character.
Do you have anything to add? Feel free to chip in by adding a comment and you can help us all get better too! Thanks, Zoe x
Do you have anything to add? Feel free to chip in by adding a comment and you can help us all get better too! Thanks, Zoe x


No comments :
Post a Comment